Sunday, June 4, 2017

The Lady Palm


I just adore Lady palms. Their dense, dark green, tropical foliage makes them so strikingly attractive!
The Lady palm (Botanic name-Rhapis Excelsa) is a native of Southern China and is a slow growing palm that can be grown both outdoors and indoors. It is great as a houseplant because it cleans toxins such as carbon dioxide, formaldehyde, xylene and ammonia from its surroundings and is also easy to care for! It is one of the top rated plants for purifying air indoors in a NASA research which studied house plants as a means of providing pure and clean air in space stations!
 

The Lady Palm forms dense clumps of bamboo-like stalks topped with dark green, glossy, fan-shaped leaves divided into ribbed segments with saw toothed ends. Rhapis leaves commonly have a slightly brown tip fringe. These can be trimmed with a pair of scissors or even just carefully pulled off by hand. 
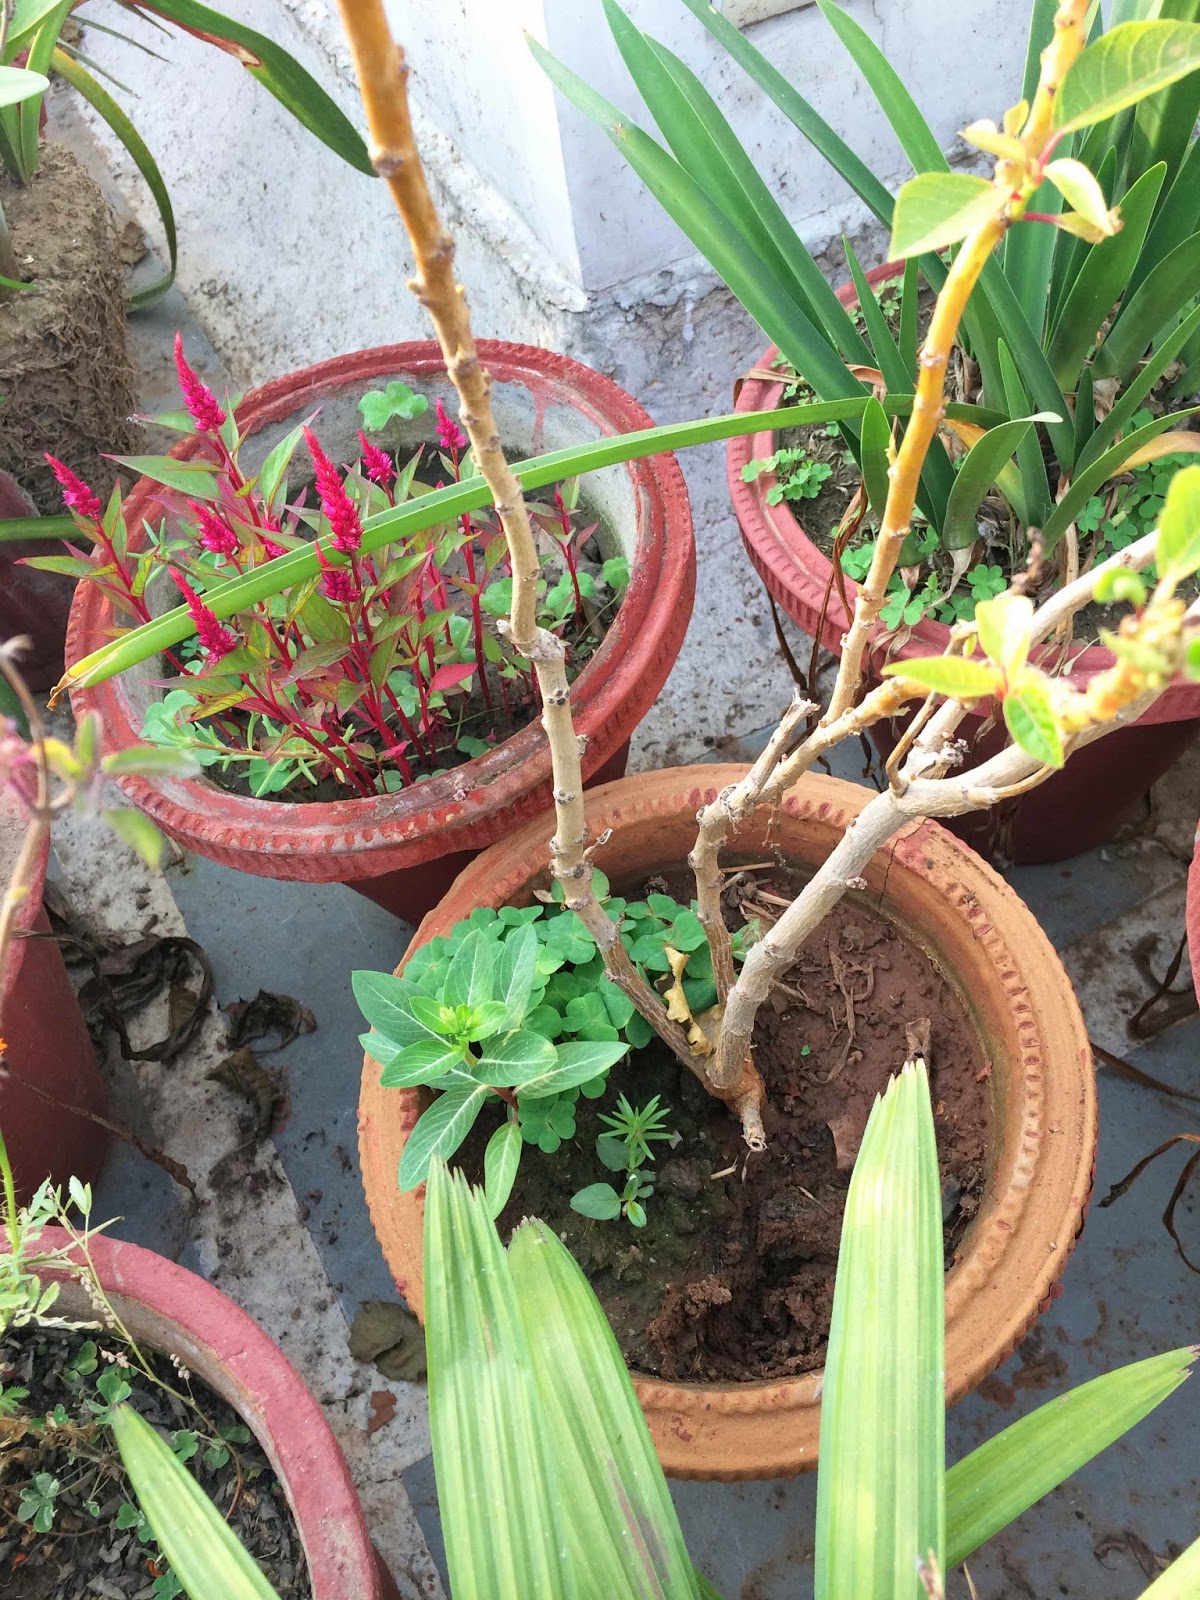
Each stalk or cane of the Rhapis is thick and covered with dark woven palm fibers (picture above). The tip of each of these stems is the growth point and it will stop growing if you remove the tip. You cannot prune a stem and get new growth from the cut stem as you do with some other plants. So you should only cut a stem when most of the leaves have turned yellow or fallen off and then it should be cut as low as you can go, down to the soil level. This will encourage new shoots to grow from the base of the stem. The plant above has four such canes that I need to cut down to the soil level. It is such a dense plant that I am feeling plain lazy! 

The Rhapis Palm propagates itself via underground rhizome offshoots which is great because they will slowly fill out a pot beautifully! The Lady palm forms multi-stemmed clumps that can reach enormous width, spreading as wide as its height or more. I have a couple of beautiful specimens in pots that are as wide as they are tall-almost 4 feet and I just love them! The Lady below standing with her pot is taller than me!


A Lady palm should be repotted every couple of years till it is the size you want it to be or is in too big a pot to be repotted. Then you can just top dress it. Remove the top 2-3 inches of soil and replace with fresh soil every couple years. Take care not to harm any roots that may be near the surface.

The best time to divide a Rhapis is during spring when the palms are actively growing. You can easily propagate your plant by gently removing it from the pot and using a sharp, sterile knife to separate a shoot or shoots from the mother plant with some of their own roots already growing. A single cane that you plan to divide should have a few leaves and several roots before being separated. Pot it into a container just slightly larger than the root system filled with loose well-draining soil. Remove several lower leaves on each cane to reduce stress. Place in a humid area or mist daily until the palms resume active growth. 


Since my pots are too huge and heavy to divide, I plan to cut off some basal suckers with some roots attached to them and try my luck planting them in a 4 inch pot sizes.


The Rhapis palm prefers filtered light or partial shade. Outdoors, it will thrive under a canopy of tall trees. The Lady Palm leaves are dark green when grown in shade to a light green when grown with more sunlight. Placing it in full sun without protection will cause unattractive yellow-green leaves and slow growth. The palm below is kept in a sunny location and you can see the lighter yellow-green color of the leaves as compared to the beautiful dark green of the one above and the one on top, both of which are under a canopy of trees. Indoors, Rhapis grow best in bright, indirect light near a window or skylight but their growth slows considerably inside.


 When kept in bright lighting, the Lady Palm can be kept moderately moist but avoid overwatering them in lower light. The Lady palm should be thoroughly watered by soaking or drenching the entire root system as the roots are very deep at the bottom of pot so even though the soil at top is moist the roots may be dry at the bottom. Do not over water as it is prone to root rot. Do not allow it to wilt as it will not recover well. I lost a beautiful plant almost ten years old as its pot had broken and it was unable to retain adequate moisture and I got careless and did not repot till it was wilting. I was able to save just a single cane in one small pot from a huge dense plant.

Lady Palms are relatively slow-growing plants and need very little fertilizer. Apply only half the fertiliser required by other plants. If the leaves are rich green it indicates that fertilizer levels are okay and you should apply nutrients only when a slight overall yellowish color is detected.

The nastiest pests to attack them are scales which may hide inside the stalk mesh. A systemic insecticide which gets absorbed in the plant system is the best control. 

Wednesday, May 20, 2015

Yucca Elephantipes... Silver Star

In October, 2009, my garden or rather what used to be my garden was a mass of rubble due to the renovation of my house. All my plants, except for a couple of palm clumps and a few pots of foliage, had been destroyed. I still remember going to a nursery to buy some plants for starting my garden and picking up three Yuccas which looked so striking. The Yucca Elephantipes are beautiful landscape plants which are extremely hardy. I planted them on the edge of my lawn which gets a good deal of sun and other than that they have pretty much looked after themselves.

A couple of years later...
Running a little wild here...

 
Looking quite stately after being stripped of the bottom leaves..


Monday, May 12, 2014

Self seeding Periwinkle, Portulaca and Celosium

Many of the Periwinkle, Celosium and Zinnia seedlings that I had planted this year, died for reasons still unclear to me, as I had mentioned in my last post. Having paid so much for those seedlings when I could have them for free, motivated me to try to collect some seeds for next year.
And while I was on the collection spree I discovered some hidden treasures in the form of seedlings of Periwinkle, Portulaca and Celosium that had self seeded from last year! These I promptly transplanted into pots where they could grow unhindered.
Here are some Portulaca and Periwinkles which have self seeded in the Croton pot.

 Lots of little seedlings of Celosia Plume in an empty pot.
 Vinca and Portulaca in my Poinsettia pot.

Some Periwinkle seedlings in the Tuberose container which has been lying next to the Periwinkle plant (in the foreground) for many months now.
Some of the little treasures I discovered transplanted into new pots. Here, I have not yet taken out the wilted seedlings hoping against hope that they might still "wake up".

Friday, May 2, 2014

Planting Summer seedlings

Well, this past week since I planted the summer seedlings, I have lost 6 of the Orange Celosia and maybe 8 Periwinkles. It is a miserable feeling to see your newly planted seedlings all wilted, shriveled up and ready to give up. A couple of the Zinnias too are looking like they might go either way. One of the reasons I think, might be the summer heat.
Orange Celosia
Periwinkles
We had potted the seedlings on my terrace. That is where my compost bin and storage bin for manure, soil etc is kept. After planting them we kept them in a relatively shaded part of the terrace but the summer heat is still probably to much for the delicate seedlings.
So I visited Master Seeds at Barafkhana to replenish the Celosia and buy some pots.
The gentleman there told me that I was probably killing the seedlings off by watering them twice a day. According to him, the seedlings and in fact all the plants should be watered only in the evenings and not more than twice a week even in the scorching Delhi heat!
As of now, I have shifted most of the pots from the terrace to the garden except the Portulaca, the Kochia grass and some Cosmos which are all still on the terrace. These seem to be the most hardy and unbothered by it all. I have also stopped watering the pots in the mornings. In fact, I plan to water them now only when they start looking distressed. The Zinnias too are doing relatively fine.
But there is a silver lining to the proverbial cloud. Losing all those seedlings gave me the push to collect some seeds for next year. And while I was scouting around for seeds on my terrace, I came across a few treasures. Some Periwinkles from last year that had self seeded and lots of Red Celosia! But thats fodder for another post.

Thursday, May 1, 2014

Summer seedlings and plants!

Let me show you my treasure trove from the nursery, that I got last week! I got seedlings and small plants of Celosia and seedlings of Periwinkle, Portulaca, Zinnia and Cosmos. I also got some Kochia Grass which strangely I cannot spot in the cartons below.I also bought a Coral Jasmine plant, two small Jasmine Sambacs and a Night Blooming Jasmine, all for their lovely fragrance.
I have potted the last of these seedlings today. It was quite an exercise with more than 50 pots to fill and more than a 100 seedlings to plant!

Celosia

 Jasmine Sambac or Motia
Ornamental Peppers and Cosmos

Periwinkle in the foreground
 Portulaca
 And Zinnia

Wednesday, April 30, 2014

Fragrant flowers of the Night Blooming Jasmine or Raat Ki Rani (Cestrum Nocturnum)

During my visit to the nursery last week to pick up seedlings of summer flowers, I decided to buy some plants with fragrant flowers, for my garden. I have been wanting to do so for some time now. I bought one Raat Ki  Rani plant in a small pot, one Har Shingar plant and two Motia plants in small plastic bags.
I wanted to plant the Raat ki Rani at the entrance to my home. So today in the morning, we dug a small hole and planted it there. It is just off the gate of my house, outside the boundary wall of my neighbour!
Raat Ki Rani or Cestrum Nocturnum is also known as Night Blooming Jasmine. It is a woody evergreen shrub which has long vine like stems that can grow quite tall if not trimmed. It's tiny, greenish cream tubular flowers bloom during the summer months, opening after the sun sets and produce a strong sweet smell.
I read online that it is quite easy to root it's stem cuttings in water so I think I will attempt to make some more plants once this plant starts flourishing.

LinkWithin

Related Posts Plugin for WordPress, Blogger...